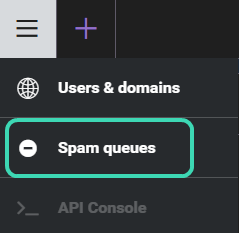
Spam Queues
The Spam Queues section allows administrators to review and manage messages filtered by the server's spam protection system.
Depending on the filtering result, messages may appear in different queues where administrators can review them, perform actions, or adjust sender permissions.
Spam Queues

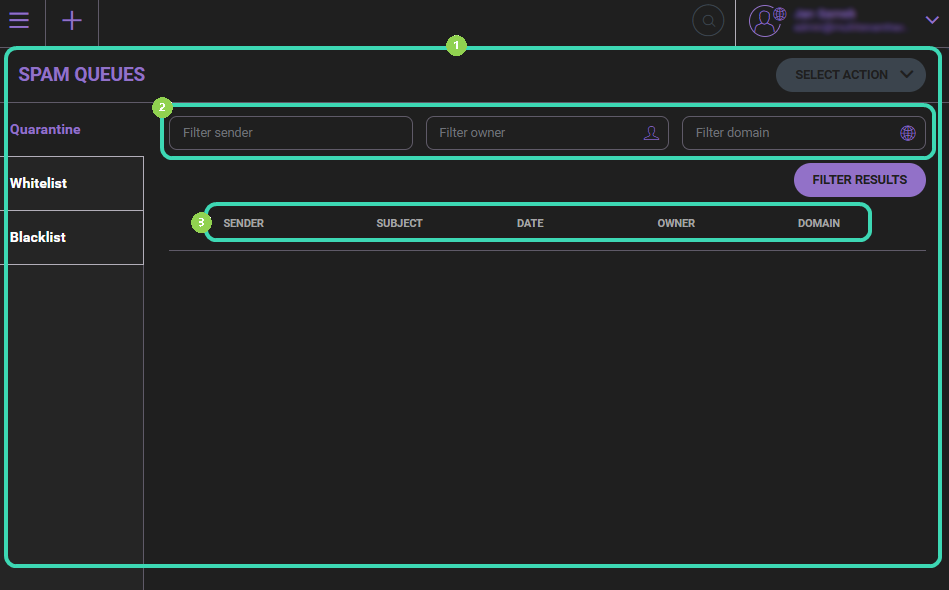
The left-side panel provides access to the following queues:
- Quarantine – Messages classified as suspicious or spam and held for review before delivery.
- Whitelist – Explicitly allowed senders. Messages from these senders may bypass certain spam checks.
- Blacklist – Blocked senders. Messages from these senders are rejected or filtered according to server rules.
Filtering Messages

Use the filter fields at the top of the page to narrow the list of displayed entries:
- Filter sender – Filters entries by the sender's email address.
- Filter owner – Filters by the message recipient (account owner).
- Filter domain – Filters entries by the sending domain.
Click Filter results to apply the selected criteria.
Message List

The list displays entries depending on the selected queue. Typical columns include Sender, Subject, Date, Owner, and Domain. Available columns may vary depending on the selected queue.
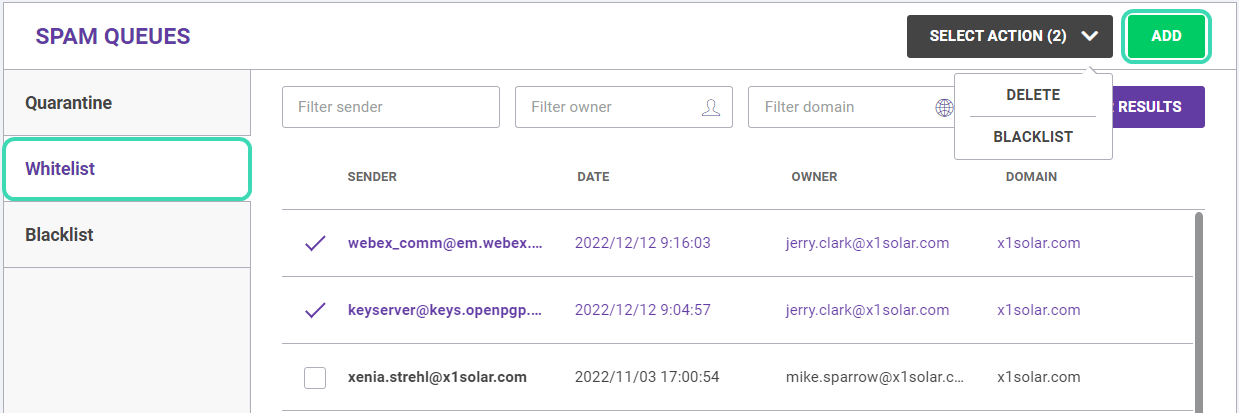
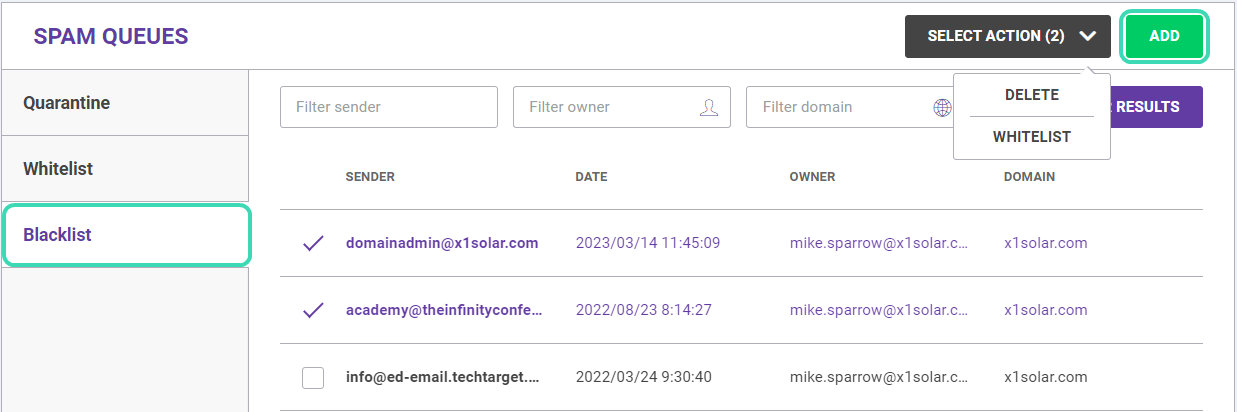
Managing Entries
Use the Select action menu to perform operations on selected items. Available actions depend on the selected queue.
| Action | Description |
|---|---|
| Select action | Apply an operation to selected items, such as Delete, Deliver, Whitelist, or Blacklist, depending on the selected queue. |
| Add | Manually add entries to the Whitelist or Blacklist. |
Quarantine

In the Quarantine tab, you can manage messages awaiting action. Select one or more messages and click Select action to apply an available operation (for example Deliver, Delete, Blacklist, or Whitelist).

Whitelist

In the Whitelist tab, you can manage allowed senders. Select one or more entries and click Select action to apply an operation (for example Delete or Blacklist).
Add a new sender to the Whitelist
- Click Add.
- Enter the sender email address.
- Enter the owner (recipient) email address.
- Click Save.
Blacklist

In the Blacklist tab, you can manage blocked senders. Select one or more entries and click Select action to apply an operation (for example Delete).
You can filter blacklist entries by sender, owner (recipient), or sending domain.
Add a sender to the Blacklist
- Click Add.
- Enter the sender email address.
- Enter the owner (recipient) email address.
- Click Save.
Next steps
Explore related sections:
← Back to WebAdmin portal

